Shooting R3D RAW on the Nikon ZR gives me a lot of room in the grade, but the files are heavy. For one video I had around 200 GB of RAW. Editing that on a laptop, or keeping it on a drive for years, is not ideal. My solution: grade the RAW first, then export everything to R3D to H.265 files that are light and already finished.
Why convert after the grade
The RAW is where you want to make the big decisions: white balance, ISO, exposure. Once the look is done, you do not need all that data anymore for the edit. A graded H.265 file keeps the look and weighs a fraction of the original.
My export settings in DaVinci Resolve
- Grade the R3D clips in the Color page.
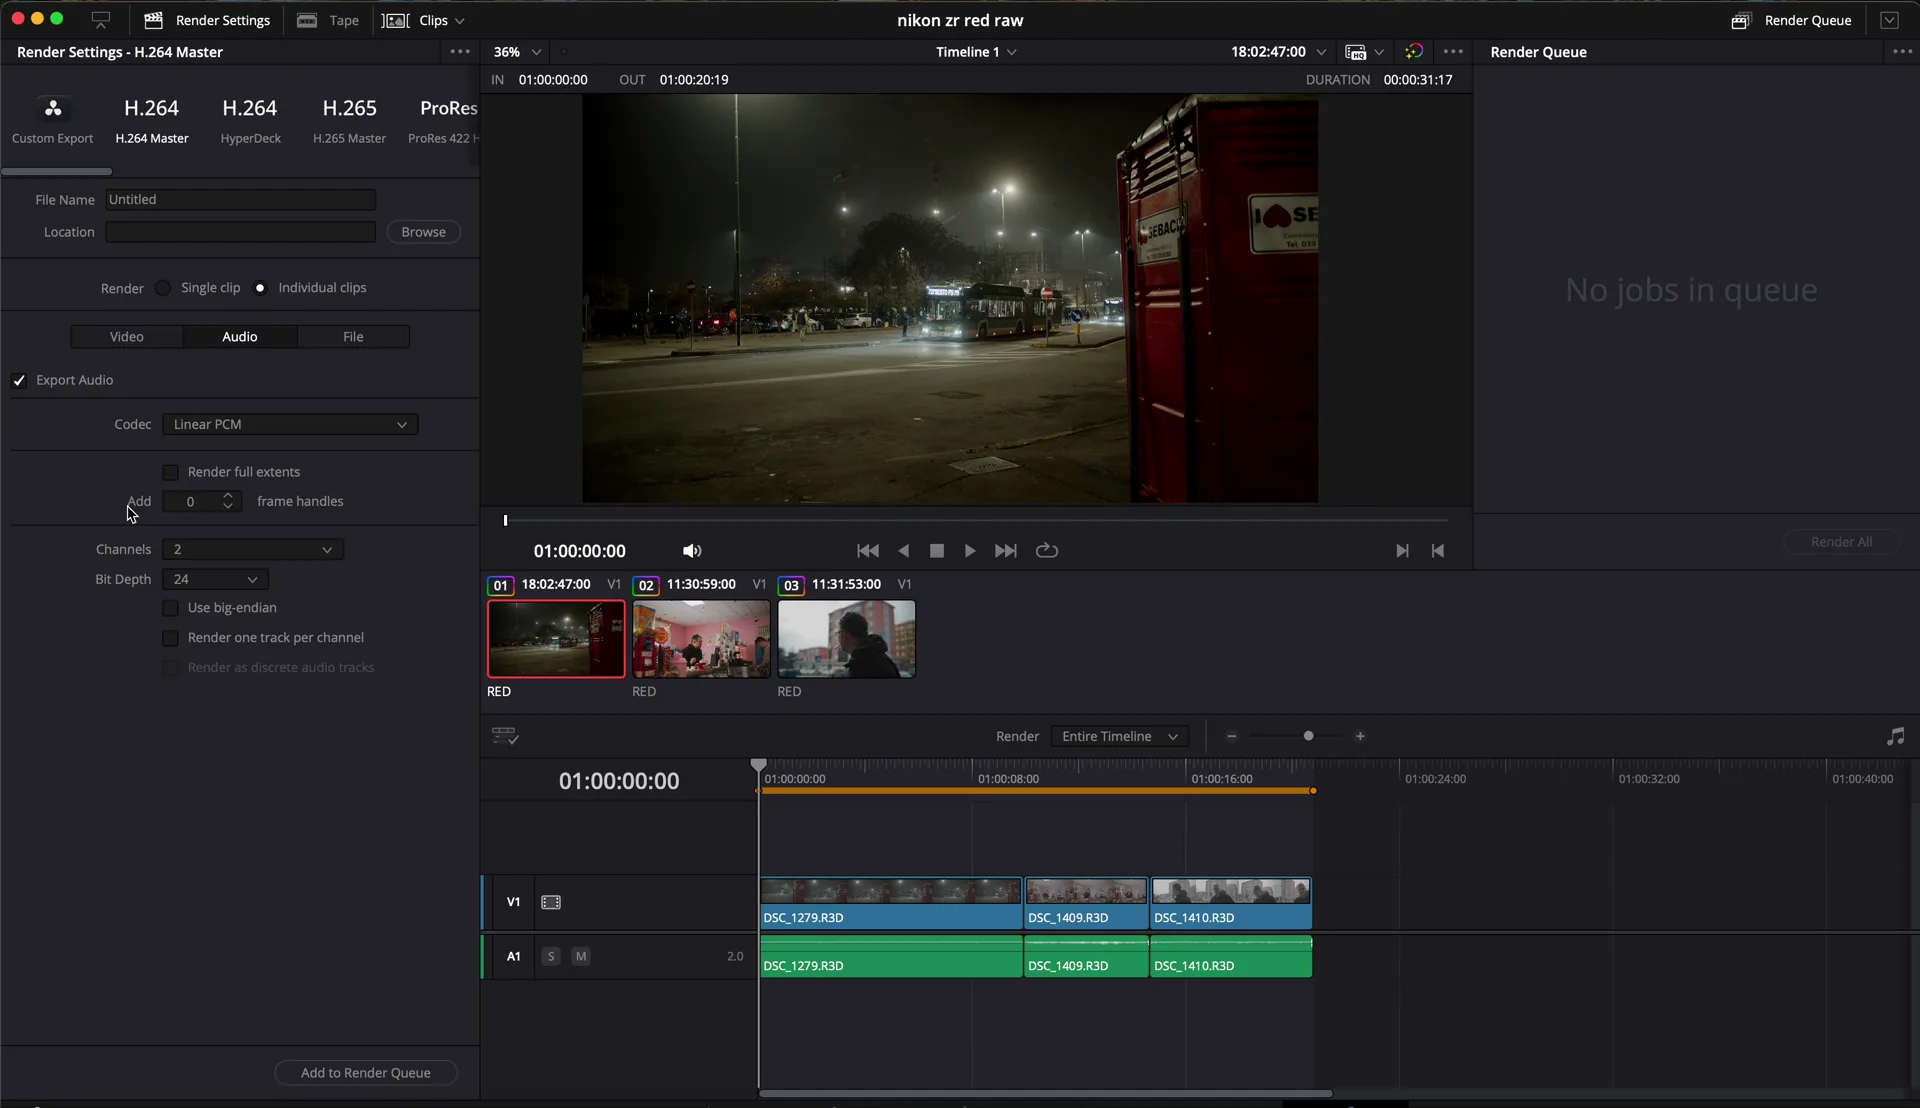
- On the Deliver page choose Individual clips so every clip becomes its own file.
- Format QuickTime, codec H.265.
- Output color space Rec.709, so the files are already “normal” in any editor.
- Audio: PCM, uncompressed.
The result
The clip in the video went from about 1 GB to under 200 MB. Multiply that by a whole wedding and the difference is huge: graded files you can edit smoothly, share and archive without buying a new drive every month.
Quick recap
- Make the big decisions in the RAW.
- Export individual clips in H.265, Rec.709, PCM audio.
- Edit the light files, keep the RAW only for the jobs that need it.
I tested every R3D format of the Nikon ZR in detail here: Nikon ZR R3D NE, every format tested.
Watch the video
The short version is on YouTube Shorts. More on my YouTube channel.
Nikon ZR in R3D RAW, graded and exported in DaVinci Resolve. Words and video by Alex Sofo.
[…] More Nikon ZR workflow: R3D to H.265 in DaVinci Resolve. […]