Shooting RED RAW 6K on the Nikon ZR is a joy in the grade and a pain on the drives: one minute of footage is about 11.7 GB. So most of us take a shortcut somewhere between the card and the final export. I wanted to know which shortcut actually costs you image quality. I took one clip, built one grade in DaVinci Resolve, and pushed it through seven different workflows. Then I zoomed in to 400% on the hardest part of the frame.
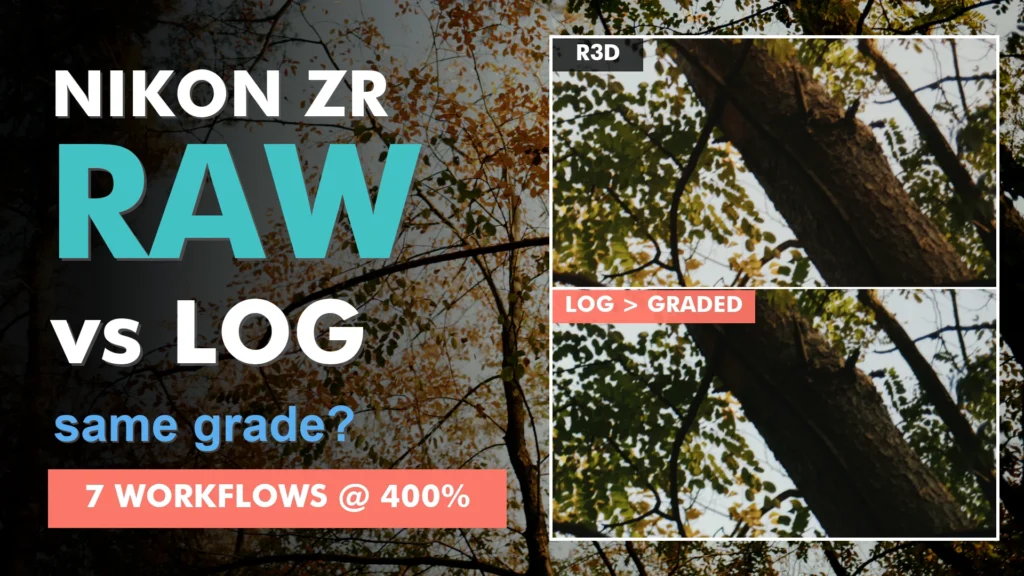
The shot and the setup
- Camera: Nikon ZR, RED RAW (R3D) 6K, 6048 × 3402, 25p, ISO 800
- Lens: Nikon 40mm f/2
- Location: the woods in Cesate, looking up into autumn trees
- Post: DaVinci Resolve Studio 21, one PowerGrade on every version
Looking up into a canopy is a nasty test for any codec. There is fine texture everywhere, a bright sky behind the branches and deep shadows on the trunks.
The grade: one PowerGrade, seven nodes
I start every RED clip from my own PowerGrade. In Camera Raw I keep IPP2, REDWideGamutRGB and Log3G10. Then the node tree runs in this order:
- Noise Red: light noise reduction first, before anything stretches the image
- Exposure
- WB: white balance
- CST: a Colour Space Transform into DaVinci Wide Gamut / Intermediate
- Contrast: a gentle custom curve
- Grading & Skin
- LUT: KUBIK PACIFIC by KOLOR, from DaVinci Intermediate to Rec.709
KUBIK comes in four looks (Rec.709, 0815, Pacific and Kino), as a free 17-point LUT and a premium 65-point version. Pacific gave me the warm autumn tones I wanted without pushing the greens too far. The last touch was colour temperature and exposure directly in the RAW decode, which is exactly what you lose once you leave RAW.
The problem: RAW is heavy
At about 11.7 GB per minute, a wedding day in R3D adds up to terabytes. There are three common ways around it:
- A. Compress the RAW. Blue Compressor re-encodes the R3D at a lower bit depth per pixel, and the file is still RAW.
- B. Export Log, grade later. Render a flat Log3G10 file (H.264, ProRes LT or ProRes 4444), edit with it, then apply the grade at the end.
- C. Grade the RAW, export the graded file. Finish the look on the R3D, render it out and edit the graded file.
The seven versions and their numbers
All files are 6048 × 3402 at 25p. Sizes are measured from the actual files on this clip.
| # | Version | Workflow | GB per minute | Can you re-grade the RAW? |
|---|---|---|---|---|
| 1 | R3D original | reference | ≈ 11.7 | Yes |
| 2 | R3D, Blue Compressor Medium (1.7 bpp) | A · compress the RAW | ≈ 6.6 | Yes |
| 3 | H.264 ~100 Mb/s, Log | B · grade later | ≈ 0.8 | No |
| 4 | ProRes 422 LT, Log | B · grade later | ≈ 6.1 | No |
| 5 | ProRes 4444, Log | B · grade later | ≈ 20.7 | No |
| 6 | H.264 ~100 Mb/s, graded | C · grade the RAW, export | ≈ 0.8 | No, baked in |
| 7 | ProRes 422 LT, graded | C · grade the RAW, export | ≈ 5.9 | No, baked in |
Blue Compressor took my 2.47 GB test clip down to 1.40 GB, which is 43% smaller. Note that ProRes 4444 in Log is almost twice the size of the RAW it came from.
What I saw at 400%
I zoomed into the bark of the trunk on the right. It is in focus, full of texture, and sits in deep shadow, which is exactly where a codec gives up first.
A · Blue Compressor: identical, and still RAW
Side by side with the original R3D, I can’t tell them apart: same texture, same shadows. And because it is still an R3D, ISO, white balance and the RAW decode all stay open in post.
C · Grade the RAW, export ProRes LT: identical too
The graded ProRes LT matches the original. The catch is that the look is baked in: if the client wants it warmer next month, you go back to the R3D.
C · Grade the RAW, export H.264: very close
At under 1 GB per minute it holds up remarkably well. At 400% there is a touch of smoothing in the deepest shadows on the bark. At normal viewing size you won’t see it.
B · Export Log, grade later: the surprise
This is where things went wrong, and not because of the codec. When I applied the same PowerGrade to the Log exports, all three (H.264, ProRes LT and even ProRes 4444) came out darker, with crushed shadows, about 10% lower in luminance on the bark. Part of the grade lives in the RAW decode, and a Log intermediate no longer responds to the grade the way the R3D does. You end up re-matching every shot by eye, without the RAW controls.
I hit the same wall in my earlier codec test: if you transcode, bake your Camera Raw settings into the export, or the grade won’t land the same.
Which workflow should you use?
- If you want to stay in RAW: compress it. Blue Compressor at 1.7 bpp saves 43% of the storage and keeps every RAW control.
- If you just need light files to edit: grade the RAW first and export ProRes LT. Same look, half the size of the R3D.
- If you need tiny files: graded H.264 from the RAW is surprisingly good for delivery and for cutting.
- If you go the Log route: expect to re-match your grade by eye, and don’t count on ProRes 4444 to save you.
Watch the full test
The video walks through the PowerGrade in Resolve, the KUBIK LUT, Blue Compressor and the export settings, then shows every 400% split screen: watch it on YouTube. A 60-second version is on Instagram and YouTube Shorts.
Shot on Nikon ZR with a Nikon 40mm f/2, RED RAW 6K 25p. Graded in DaVinci Resolve Studio with the KUBIK PACIFIC LUT by KOLOR. Edit and grade by Alex Sofo. Voiceover generated with ElevenLabs.